 Boiler welded tube flaw detection
ZXFlasee B series inspection system is designed for inspection of steel pipe welds of different sizes and dimensions in the boiler industry. It is a series of inspection systems developed according to the quality control needs and summarized years of application experience.
?Subdivision of application requirements, providing the best cost performance
?All adopt high-frequency and high-voltage technology, with stronger penetration and more stable rays; separated high-frequency and high-voltage generator.
? image detector localization, superior performance, more convenient service
?Raylion image filtering technology for steel and aluminum subdivision processing, making the image clearer
01 Boiler single tube inspection
ZXFlasee B Boiler Single Tube Inspection System is a cost effective inspection system developed for digital imaging of small diameter welded tube butt welds for X-ray inspection (DR).
#01 Boiler single tube inspection process
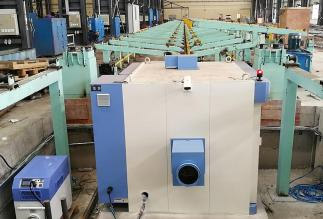
1). The small diameter tube is fed into the inspection room through the strong feeding device, and the operator observes whether the ring weld position reaches the inspection position through video inspection.
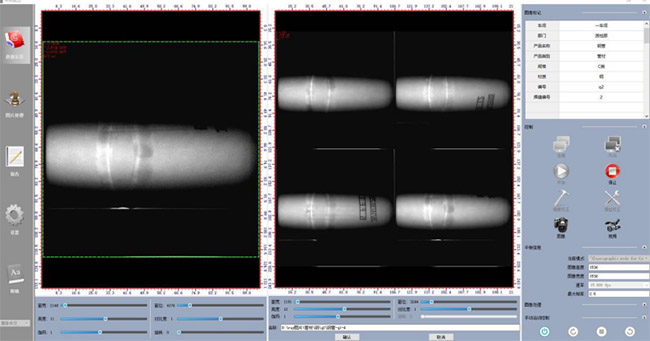
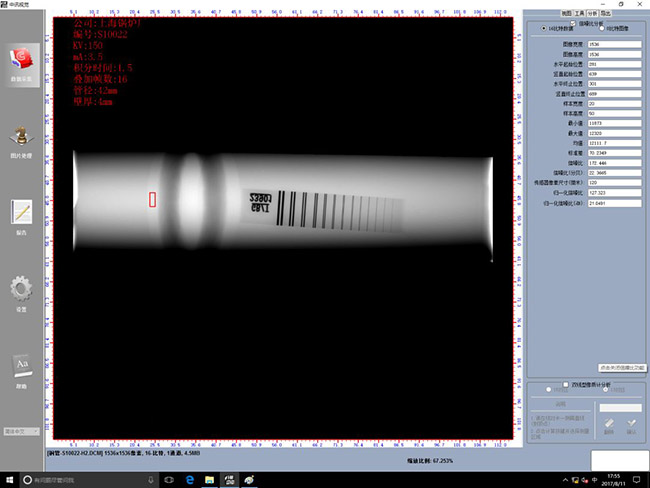
2). The weld runs to the inspection position, the light gate opens and the X-ray starts to transmit, the weld can be rotated manually or 3-5 images of the weld at different angles can be collected automatically by the pre-set program.
3). When the inspection is finished, the welded pipe is returned or advanced to the next station, and the subsequent weld continues to be inspected.
#02 System parameters
Workpiece material: steel pipe welds
Ray energy:160kV/225kV/320kV/450kV
Focal size:d=0.4 / d=1.0mm (EN12543)
Transmission thickness:
160KV: 3~6mm
225KV:3~9mm
320KV:3~13mm
450KV:3~20mm
 02 Boiler tube screen inspection
ZXFlasee B tube screen inspection system is a cost effective inspection system developed for digital imaging (DR) of small diameter welded tube screen butt weld seam X-ray inspection.
#01 Boiler tube screen inspection process
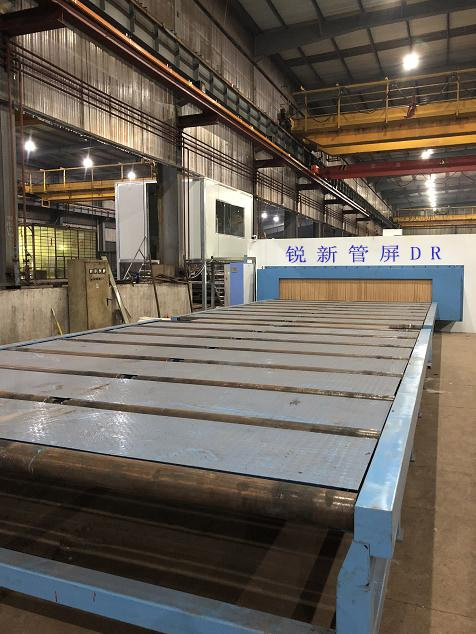
1). An 8m conveyor roller conveyor is placed on one side of the lead room for loading and unloading the tube rows, and the tube rows to be inspected are placed on one side of the roller conveyor.
2). The roller conveyor rotates and conveys the tube row into the inspection room, the weld runs to the inspection position, the X-ray is turned on, the inspection workpiece is transmitted, the C-arm can be tilted to detect, and the flat plate and the ray machine move simultaneously to photograph the weld.
3). Pipe row running direction of different positions of the weld seam, can be transported back and forth movement through the roller conveyor to reach the detection position, all weld seam detection is completed, the roller conveyor will pipe. The row is conveyed to the other side of the rollerway and discharged.
4). Repeat the above procedure steps to complete the inspection of the next tube row.
#02 System parameters
Workpiece material: steel pipe weld
Ray energy: 160kV/225kV/320kV/450kV
Focus size: d=0.4 / d=1.0mm (EN12543)
Transmission thickness:
160KV: 3~6mm
225KV:3~9mm
320KV: 3~13mm
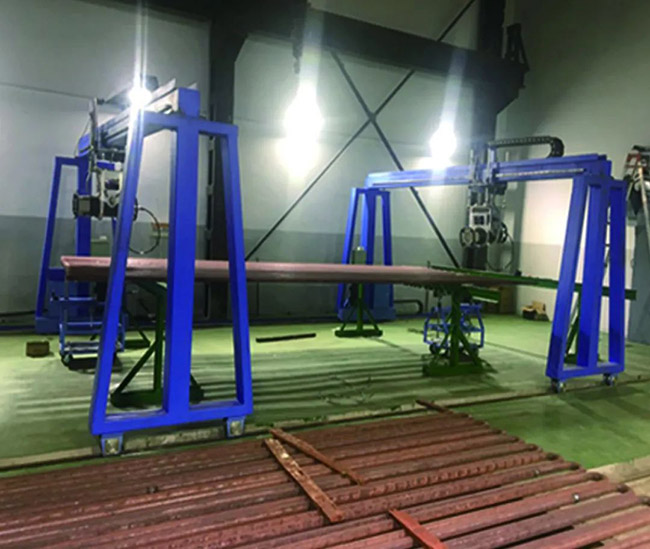
 03 Boiler gantry inspection
ZXFlasee B Gantry Inspection System is a digital imaging system for X-ray inspection of butt welds on small diameter welded pipe screens, customized for customers with existing concrete shielded rooms. Installing the system directly in the inspection room eliminates the cost of a lead shield room and increases the utilization of the existing inspection room.
#01 Boiler gantry inspection process
1). The tube transport vehicle is driven out of the shielding room, and the tube discharge is placed on the tube transport vehicle by the traveling crane.
2). The delivery vehicle enters the protection room, runs to the testing position, and the lead door is closed.
3). Move the ray machine gantry and flatbed trolley, run to the weld detection position, X-ray open, transillumination detection workpiece, ray machine can be tilted detection, flatbed and ray machine synchronous movement, the weld is photographed.
4). Different positions of the weld seam can be reached by the movement of the gantry and flatbed trolley to the detection position, and after all the weld seam is detected, the gantry is moved away and the pipe row is moved to the pipe transport trolley with the traveling trolley.
5). Repeat the above procedure steps to complete the inspection of the next pipe row.
 04 Image Processing and Enhancements